Lukas Z's Blog

Abliterated LLMs

LLMs refuse do do certain things, but they can be modified to be ~100% obedient and uncensored. This (jailbreaking) process is called ablation and there is a cool article on how it works.

If you use ollama then you can easily try “abliterated” models, just search for them here.

Now why are they called “abliterated” and not “ablated” models? Simply: abliteration = ablation + obliteration.

AI Generated Image

When I have to wait for something I sometimes use AI to create images. This is one of them.

Desert Planet

It is fun, but it is very difficult to get precise results.

Mini-Guide: How to Run Pi-Hole on a Synology NAS

I installed Pi-hole, the adblocking DNS server, on my Synology NAS machine, and since it wasn’t as straightforward as I had hoped, here’s a mini guide that I want to share.

Step 1: Install Container Manager

Container Manager

Go to your synology console (for me it’s at http://synology.local:5000 in my home network) and install the app “Container Manager”. It allows us to run Docker containers on the NAS.

If you are asked anywhere if it should run as root, say yes.

Step 2: Create two folders

Go to File Station and create those two folders:


/docker/pihole/etc-pihole
/docker/pihole/etc-dnsmasq.d

Step 3: Run Pi-hole in a Docker container

Open Container Manager and create a new project. I have used this YAML-configuration.


services:
  pihole:
    image: pihole/pihole:latest
    network_mode: host
    container_name: PiHole
    restart: unless-stopped
    mem_limit: 1g
    cpu_shares: 90
    environment:
      - PIHOLE_UID=1024
      - PIHOLE_GID=101
      - TZ=Europe/Berlin
      - FTLCONF_webserver_api_password=<SET_YOUR_OWN_PASSWORD_HERE>
      - FTLCONF_webserver_port=8080
      - IPv6=False
      - DNSMASQ_LISTENING=all
      - DNSMASQ_USER=root
    volumes:
      - /volume1/docker/pihole/pihole:/etc/pihole
      - /volume1/docker/pihole/dnsmasq.d:/etc/dnsmasq.d

And then run it.

For me this worked, but it could be that your UID and GID are different. Here’s how I found out what mine are:

Optional Step: Find UID and GID

I connected with ssh into the nas, in my case the command was:


ssh admin@synology.local

and then I just ran


id

And then just adjust the values accordingly.

Final words

By configuring your home router or access point to assign DHCP leases with your Pi-hole DNS server as the primary resolver, any device that requests an IP address (computers, phones, etc.) will automatically begin using your Pi-hole DNS service.

Link: Wikitok

Found this TikTok clone today: wikitok.vercel.app.

WikiTok

What a fun idea. While scrolling Instagram and TikTok is rumored to make us more stupid, this could actually make us more intelligent.

Using a VPN Service Isn’t Fun

I’ve subscribed to a VPN service and it’s really not fun to use them. The problem is that Google, Youtube, and other big sites, detect it and then they spam you with Captchas. Dubious security is exchanged for obvious inconvenience.

A much better experience for me was running Algo. It sets up a VPN on a Digital Ocean server (other options are included, but I use D.O.), and then provides a simple way to set it up on multiple devices using Wireguard config files and qr codes.

The VPN services have the advantage that switching is faster and easier. With Algo I would have to set up my own VPN server each time. But all things considered it’s the better option for me.

A Map of Germany

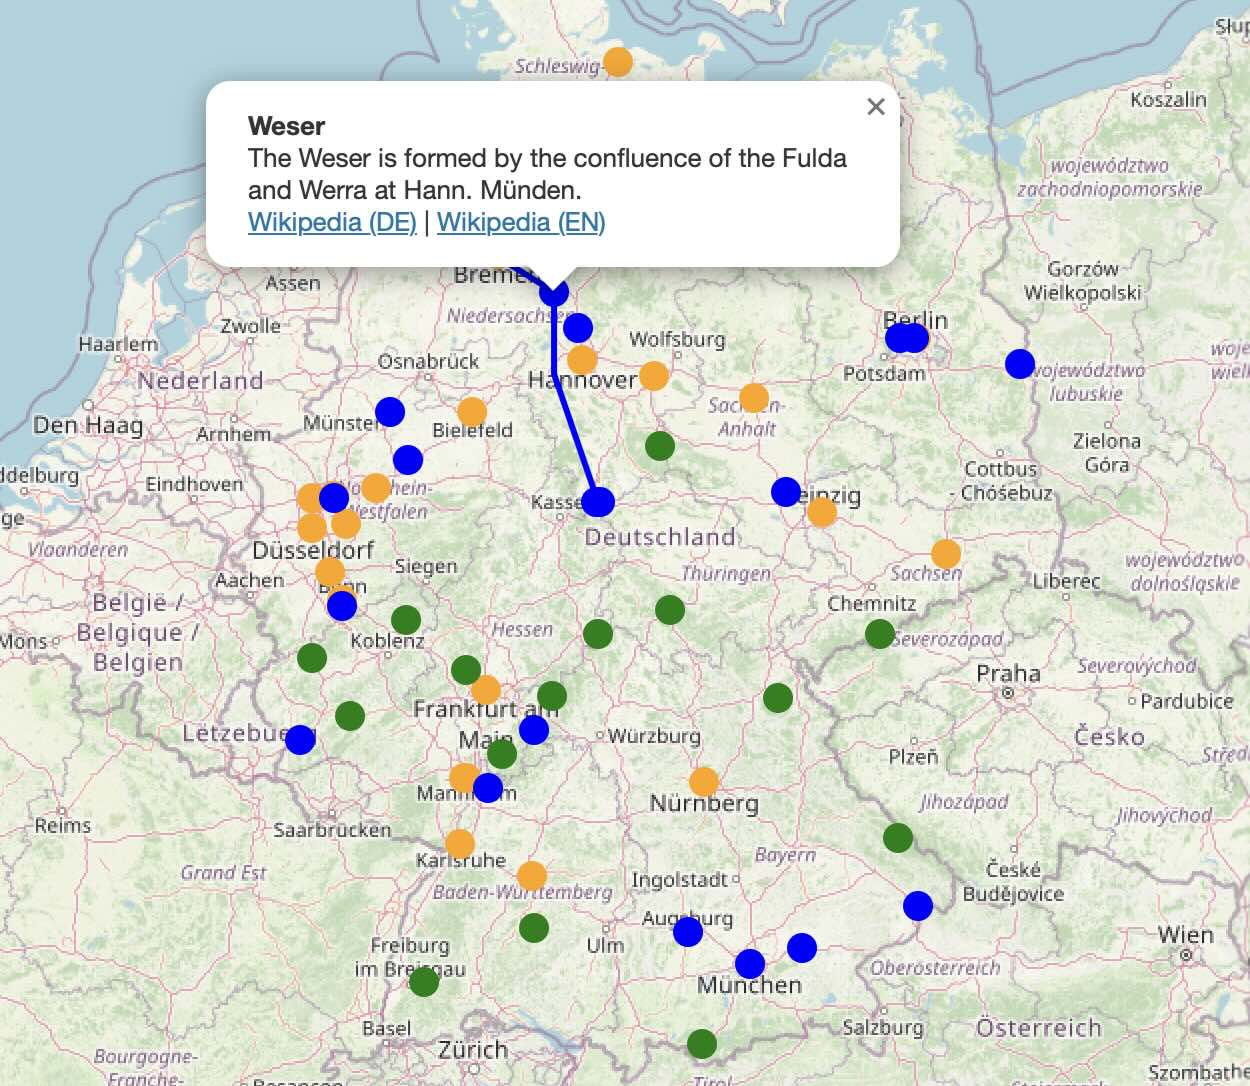
Since I had fun with it yersterday, I decided to create one more tiny web app. This time it’s a map of Germany with some landmarks. I believe it’s useful to learn where things roughly are.

A Map of Germany

This time the LLM did 100% of the coding. I did not have to correct anything manually and the whole process to get the result you see here took about 25 minutes.

Click here to open the map

(It probably won’t work well on mobile.)

Star Wars Quiz

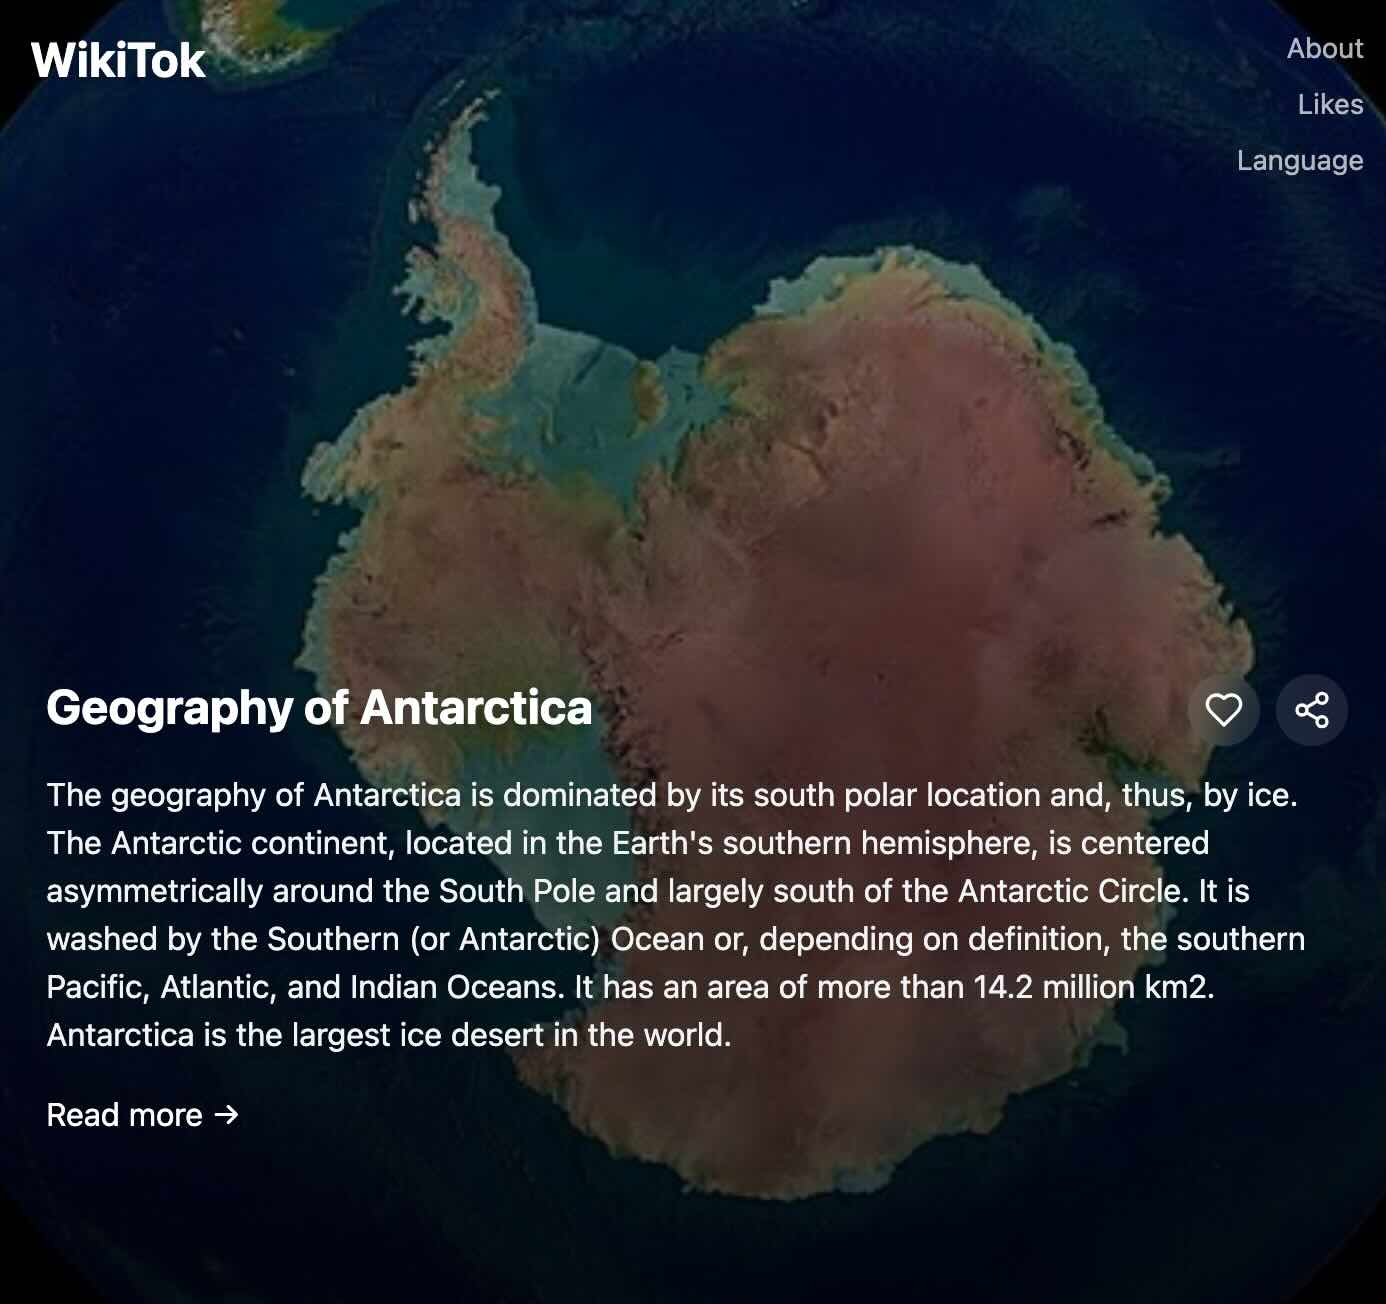
I played around with Google Gemini and chatGPT and wanted to see if I can briefly create a small fun web app.

I could, but when something did not work, it took some light manual tweaking and debugging to tell the LLM exactly what the problem was. But it did about 90% of all the work and the whole thing took about 30 minutes to finish.

Click here to play it

And may the Force be with you.

A Weird Little Trick When Xcode Canvas Preview Is Stuck

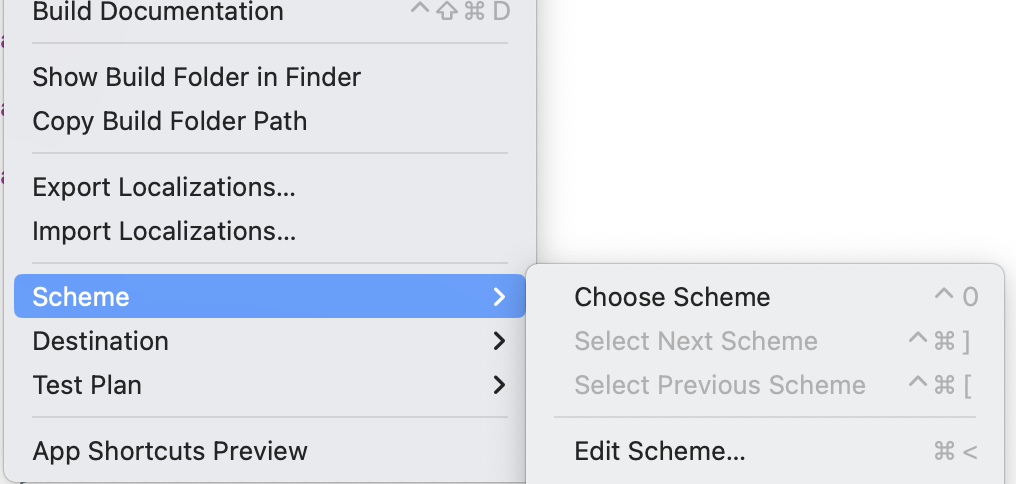
When our SwiftUI app got bigger, the Canvas previews took more and more time to build, until the feature was practically no longer usable. But sometimes I still wanted to wait.

Well, as weird as it sounds, here’s a trick to make it appear faster:

Just go up to the “Product” menu and hover your mouse over the items. When you highlight “Scheme” the Canvas will get unstuck and display immediately.

Make Xcode Canvas great again

At least this works for me in Xcode 15.0.0.

¯\(ツ)

How to Redirect HTTP and HTTPS Requests Using Namecheap and AWS

This is a mini writeup for a very specific case.

Let’s say we have a domain name, ourcooldoma.in. And for some reason we want to redirect all traffic to somecool.org. And the following things also apply:

  • ourcooldoma.in is registered at a hoster like Namecheap.
  • somecool.org does not belong ot us at all.
  • we want to redirect ourcooldoma.in and www.ourcooldoma.in.
  • we are already using AWS.

(Told you it was specific..)

Then we can do this:

  1. Set up an empty S3 bucket at AWS and make it public.
  2. In the properties of the bucket use the Static Website Hosting feature in Properties and define a redirect to somecool.org. Take note of the Endpoint value in the Static Website Hosting box.
  3. Because we support HTTPS use ACM to create a certificate that matches ourcooldoma.in and www.ourcooldoma.in (or *.ourcooldoma.in).
  4. Create a Cloudfront distribution that uses that bucket’s Endpoint as origin and is valid for the domains www.ourcooldoma.in and ourcooldoma.in. Use the certificate from the step before.
  5. Configure ALIAS records at Namecheap for www and @ pointing to the domain name of our Cloudfront distribution.

Done!

Now every request to ourcooldoma.in will result in a DNS query that returns the ALIAS entry (though I believe ALIAS is not a standard key but a technicality provided by Namecheap and others to circumvent the restriction of CNAME, which one would normally use, but which cannot be used with @ unless you are ok with masking your MX and other subdomain records).

So our request will be actually fired against the IP address at Cloudfront but the client still expects a valid SSL certificate for ourcooldoma.in. Cloudfront provides that (created in step 3) and we can finally get to the (cached) bucket, which only does one thing: 301 redirect the client to somecool.org.